We went to our local playground/park which happens to be on the lake and had some fun learning...
Armed with our magnifying glasses, our nature backpacks and Anna Comstocks' "Handbook of Nature Study' we were off...

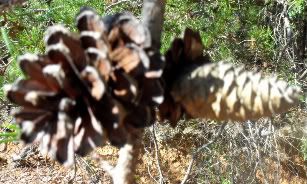
We decided to do a pine cone study...Pine cones are really neat when you think about it... we discussed the differences between deciduous trees and evergreens... found the name of the pine tree we were looking at (WHITEPINE)... and of course sketched these and other treasures we found on our journey around the lake...

You can read up on pine cones in the Handbook on p. 670-675 (Lesson 185)... You can look at this great Highlights article about pinecones too...
The we used a magnifying lens to look closely at our pine cones. Take note of its shape, size, color, and patterns. The Handbook of Nature Study suggests the following sketches in your nature journal:
- Bundle of needles, showing the sheath and its attachment to the twig.
- The cone.
- The cone scale.
- The seed (under the scales)
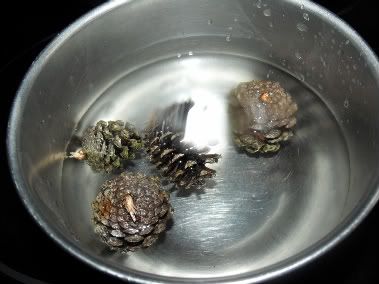
For our experiment we did this: Soak your cone in water. Check your cone every 15 minutes to see what happens. Now let the cone dry. This sometimes will loosen the seeds inside and you can take a closer look at their shapes and structure. Try this activity again and soak only half your cone in water and see what happens...It was so neat to see the pine cones which had been completely open and dry to close up tight and look like new pods... The kids were fascinated... and then we left them out on the counter to dry overnight and they began to look the way we found them by morning... Really neat...

Another experiment that can be done is making a Hygrometer with the pinecone... I got this from the Happy Scientist.
PINE CONE HYGROMETER
Hygrometers measure the amount of water vapor in the air. You will need:
- a pine cone.
- a straight pin
- a piece of wood
- some glue
- a piece of paper
- tape
- a pen or marker
If you look at the pinecone, you will see that it is made up of many scale-like pieces connected together. Carefully stick the point of the straight pin into one of the scales, near the top of the cone. Glue the base of the pinecone to the piece of wood. Place the pinecone outside near a wall or some other surface. Be sure it is somewhere that it will not get wet when it rains. Tape the piece of paper to the wall and position the pinecone so that the head of the pin is near the paper.
Watch the weather on the local news. Listen for the humidity. Make a mark on the paper where the head of the pin is. Write the humidity near that mark. Repeat this each day. Soon, you will have a very good device for measuring the humidity.
What is happening? Inside the scales of the pinecone are the seeds. As the humidity increases, the outside of each scale absorbs moisture. This causes them to swell, closing the scales and protecting the seeds from too much water. This extra moisture could cause them to mold or rot before they are ready to grow. When the air is dry, the outside of the scale dries out. This causes it to shrink, opening the scale to let the seeds fall out.
Even after the seeds fall out, the pine cone will continue to open and close as the weather changes for quite a while.

No comments:
Post a Comment
Thanks for leaving me a message...